How to Set Up Your First Flodesk Email (Step by Step)
So you signed up for Flodesk, now what?
If you're staring at a blank screen wondering where to even start, you're not alone. Flodesk is one of the most beautiful and user-friendly email marketing platforms out there, but getting started can still feel overwhelming when you're brand new to it.
Good news: setting up your first email is easier than you think. Here's exactly how to do it.
Step 1: Set Up Your Account Basics
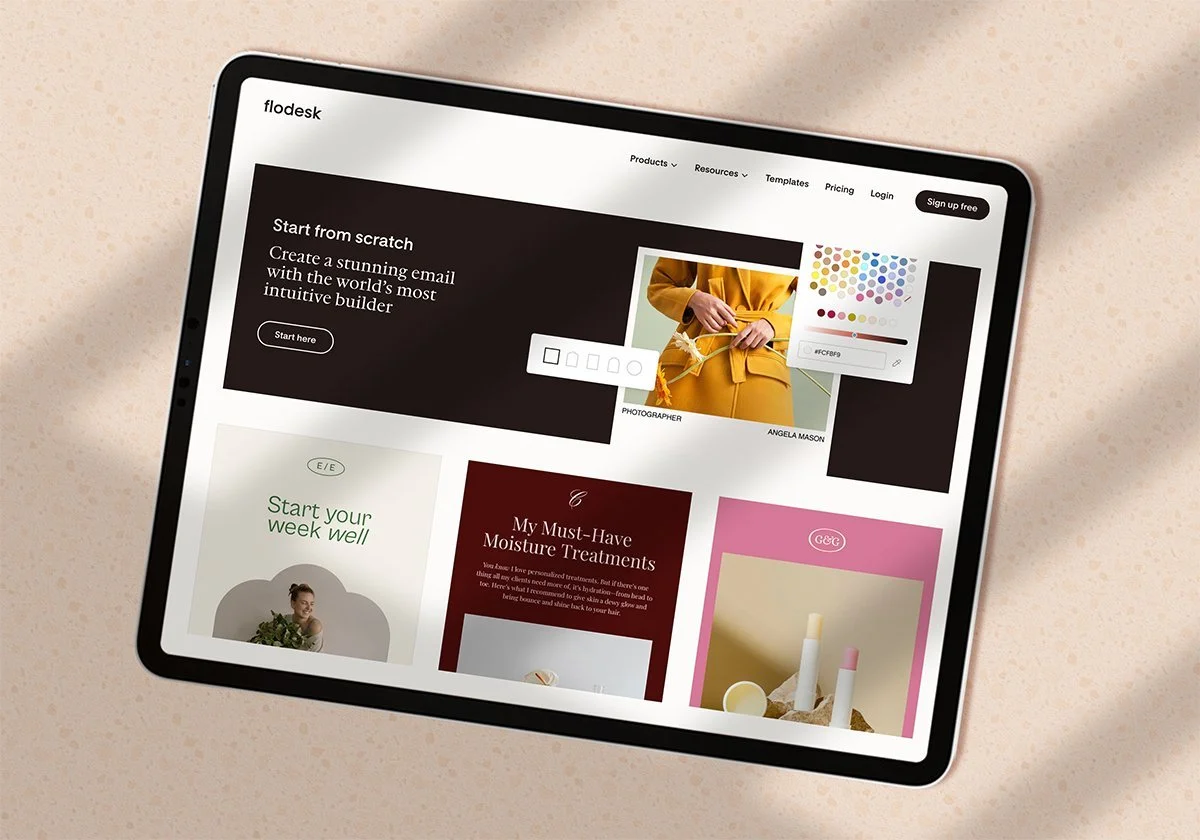
Before you send anything, take 10 minutes to set up your account properly. Go to your account settings and make sure you have:
Your business name filled in
Your logo uploaded
Your brand colors added
Your physical mailing address (this is legally required on all emails)
Verify your domain
Upload your contacts
Getting this done upfront means every email you send will automatically be on brand without any extra work.
Step 2: Create Your First Segment
A segment in Flodesk is basically a list; it's how you organize your subscribers. Before you send your first email, you need at least one segment to send it to.
Go to Audience → Segments → New Segment and create one called something simple like "Main List" or "Newsletter Subscribers." You can always get more specific later as your list grows.
Step 3: Design Your Email Template
This is where Flodesk really shines. Go to Emails → New Email and choose a template to start from. Flodesk's templates are gorgeous right out of the box, you don't need to be a designer to make something that looks professional.
A few tips for your first template:
Keep it simple. One-column layouts are clean and easy to read
Add your logo at the top
Stick to one or two fonts
Make sure your call to action button stands out
Save your template once you love it, you can reuse it every single time you send an email, so you're never starting from scratch.
Step 4: Write Your First Email
Your first email doesn't need to be perfect. In fact, the best first emails are simple and personal. Here's a format that always works:
A warm subject line — something that feels like it came from a real person, not a brand
A short personal intro — who you are and what your readers can expect from you
One clear call to action — where do you want them to go or what do you want them to do?
A warm sign-off — your name, maybe a photo
That's it. You don't need seven sections and a fancy graphic for your first send. Just show up and say hello.
Step 5: Send a Test Email
Before you send to your list, always send a test email to yourself first. Check it on both desktop and your phone; most people read emails on mobile, so make sure it looks good there too.
Look for:
Any typos or weird formatting
Links that actually work
Images that load properly
Your name and subject line showing up correctly
Step 6: Send or Schedule Your Email
Once you're happy with your test email, you're ready to go. You can either send immediately or schedule it for a specific time. If you're not sure when to send, Tuesday through Thursday mornings between 9 am and 11 am tend to get the best open rates.
Go to your send settings, select your segment, double-check everything looks right, and hit send.
That's it, you just sent your first Flodesk email!
Want to skip the learning curve entirely?
If setting all of this up yourself still feels like a lot, I've got you. I'm an Official Flodesk Partner, and I help small business owners get fully set up in Flodesk — templates, automations, segments, and strategy — usually within a week.
[Learn more about working with me →] link to creative.sarahmartino.com
Or if you want to learn the platform yourself first, grab my free 4-part Flodesk video training series below — it walks you through everything from scratch.
[Get the free training →] LINK
XO,
Sarah